If you want to add images to your pages, or if you want to provide downloadable files on your pages such as PDF, Word, or Excel documents, you will need to upload these files to the images or docs sub-folders in your OmniUpdate directory. Here are the steps to upload files:
- As with adding new pages, to upload files you need to start from the the full-screen view of your directory listing (refer to the navigation section of this tutorial).
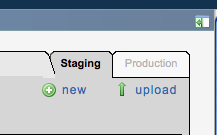
- Navigate to the folder that you want to upload the file(s) to. For images, go to the images folder, and for other documents use the docs folder. To see the files that are already in the folder, you will need to click on the Production tab near the upper right corner of your screen (see Figure 1). Uploaded files are always saved directly to the production server, not the staging server, so when you will not see any files listed when you view this screen from the Staging tab (see Check-out, Check-in, and Publishing).
- Click on the "upload" link near the upper right corner of your screen.
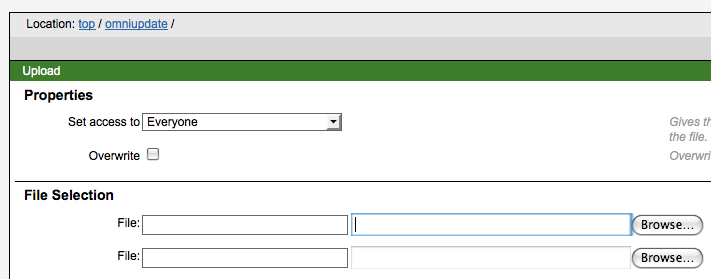
- Click on Browse to find the first file that you want to upload on your local computer's hard drive (see Figure 2).
- Repeat step 4 for any additional files that you want to upload.
- Click Upload.

Figure 2: Browsing for files to upload
