All of the initial pages for your department site will typically be set up for you by the CSM webmasters before you start using OmniUpdate, so most of the time you will be editing and saving existing pages. However, sometimes you will want to add new pages for your department, and then link to a new page from one or more of your existing pages. Here are the steps to add a new page.
- To add a new page you need to be in the full-screen view of your directory listing (refer to the navigation section of this tutorial). Click on the "new" link next to the green and white plus sign near the upper right corner of your screen (see Figure 1).
- Click on "Create New Standard Page"
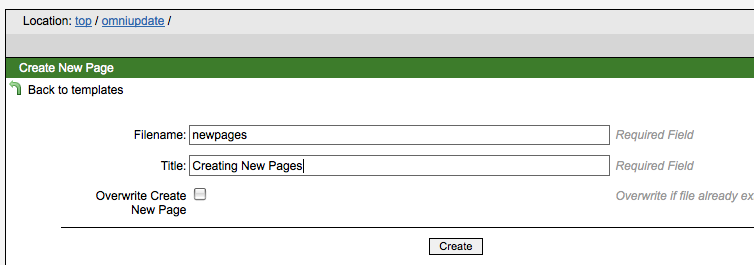
- Enter a file name for the page (see Figure 2). The file name should should be descriptive but brief, and should follow typical file naming conventions (no spaces, no special characters except dashes or underscores). Do not include a dot or extension in the file name -- OmniUpdate will automatically add ".asp" to the file name that you enter.
- Enter a title for your page. The title can be longer than the file name, and can contain spaces or special characters. This title will be added to the top of the body of your page.
- Click Create.
Figure 1: New page link
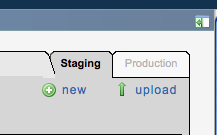
Figure 2: Create page dialog